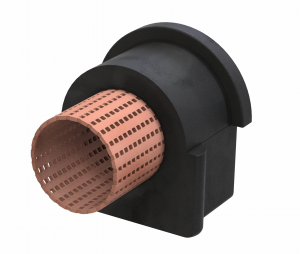
The design of vehicles is constantly evolving. The desire for non-intrusive suspension systems that do not impact the interior of the vehicle has made it necessary to use a suspension sub-frame. These sub-frames are made of tubular steel or aluminum tubes and are mounted to the vehicle body with rubber-metal bushes.
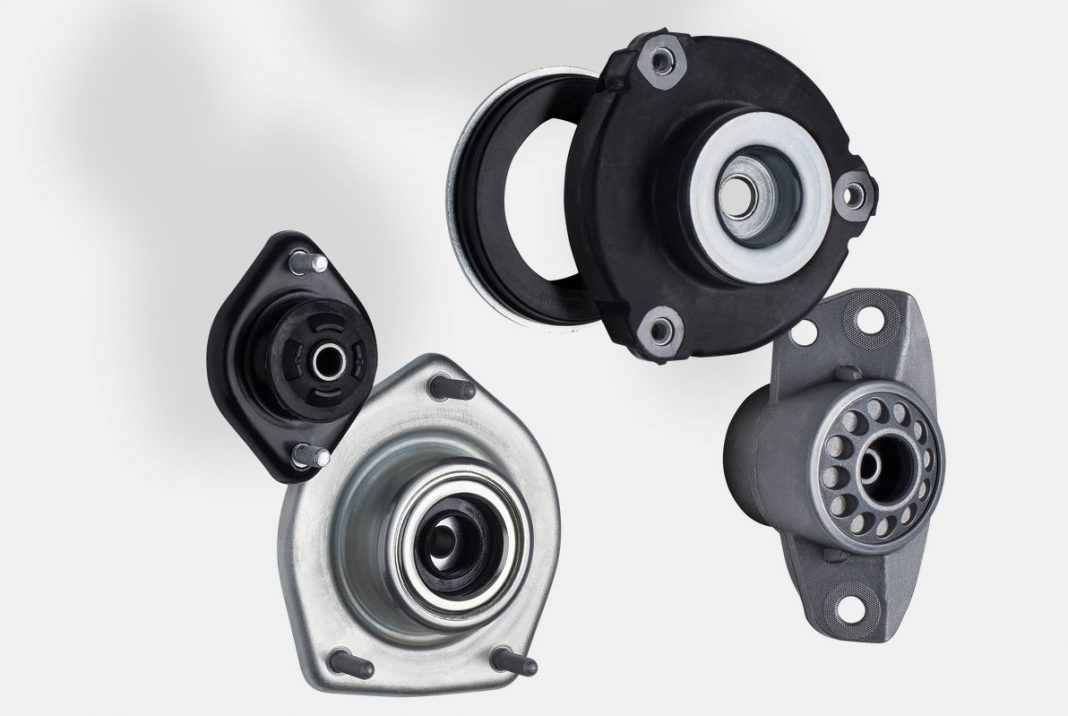
The suspension strut mounting consists of a composite rubber bush mounted on the top of the damper and connected to the vehicle’s chassis. It is an integral part of the suspension strut assembly. Strut mountings can also be equipped with a bearing or bearing plate, which allows the strut to rotate with the steered wheels.
The elastomeric materials used in the production of rubber-metal parts are matched precisely to the technical requirements and loads of their specific fitting position. Despite all of this, passive rubber-metal components cannot absorb all of the vibrations within the chassis. As a result, hydraulically dampening elastomeric bearing – “Hydromounts” – were developed, which enable the isolating and dampening of vibrations.
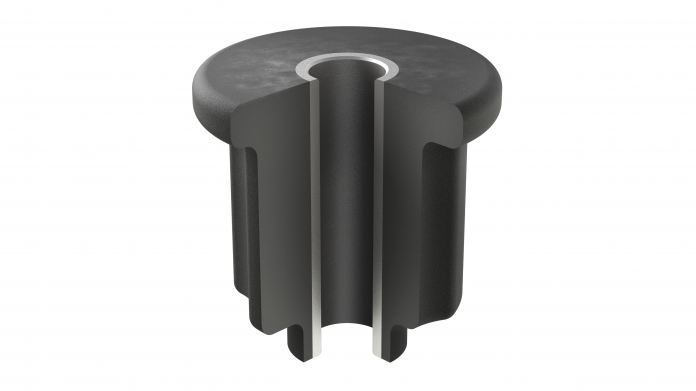
The anti-roll bar is mounted onto the vehicle’s sub-frame or chassis by means of two bushes. The positive connection of the bonded rubber bushes prevents relative movements between the anti-roll bar and the bonded rubber bush. The rotational movements of the anti-roll bar are absorbed in the mounting while the vehicle is being driven on a variety of road surfaces. This achieves a high degree of efficiency to reduce NVH (Noise, Vibrations, and Harshness) and increases driver comfort.
Article By Mary VerDuin
Dated February 28, 2020
Source: https://blog.febi.com/en/chassis-mounts-for-more-comfort-and-better-control/
Used with permission by Febi Bilstein
We all know how distracting it can be when on-coming motorists have their brights on at night. Fortunately, Valeo has engineered a solution using their dynamic beam technology with help from cameras and sensors to assist in distributing light for safety and comfort. Check out this video which dives into how these systems work and why it’s important to continue these advances for the best night-time driving experience possible!
https://alleuro.com/Brands/Valeo?SearchIndex=0&Page=0&Category=Electrical,%20Lighting%20and%20Body
Looking for a new career in the automotive industry?
We truly mean there is room to grow at our company because we practice cross-training with our warehouse staff. No unbearably high-pressure work environment or micromanagement like you would find at corporate warehouses.
Click the link below to submit your application:
You can shop DENSO spark plugs on our website by clicking this link:
https://alleuro.com/Brands/Denso
The system of a chain, to link the camshaft to the crankshaft and drive other components to operate the engine, has been proven for many years by various vehicle manufacturers, particularly BMW. However, some engines are well known for common faults, the N47 engine, in particular, is one of them.
In this article, we investigate an example fitted to a BMW E61 520d, that had covered 180,000km and had an engine that suddenly stopped, due to a suspected timing chain failure.
The timing chain is located at the rear of the engine, close to the transmission and it is, therefore, necessary to remove the engine, to gain access to investigate the problem.
With the engine removed, the rocker cover was taken off to view any damage. The camshaft chain was not visible and after inspection, it was located at the bottom of the timing chain housing, and also five rocker arms were broken.
The camshaft support had sustained a significant fracture, which shows that a significant torsional force has been absorbed by the engine timing components. (Fig 1)

With the crankshaft locked in position, the clutch, flywheel, and sump were removed for inspection.
After the removal of the timing chain housing, further damage was revealed. The upper chain had one broken link, the high-pressure fuel pump sprocket had broken teeth and the chain guide was also broken. (Fig 2)

This is a typical example of a chain failure on the N47 engine.
It was necessary to carry out a thorough inspection of the engine, to check for any other damage. In this case, the intake camshaft did not rotate freely, it was twisted and did not fit properly on the bearings, and a replacement was required.
Considering the damage already identified, it was necessary to check if the intake and exhaust valves had not collided with the pistons.
The cylinder head was removed and the valves were checked, no problems were found, the valves had not come into contact with the pistons.
After a thorough inspection of the engine, all damaged parts were assessed for replacement.
When replacing a timing chain it is vital that all the components of the timing chain are replaced without any exception, failure to replace certain components can lead to serious consequences in engine operation. The Febi timing chain kit 102040 for this engine has all the necessary parts for repair. The kit includes upper and lower chains, chain guides, tensioners, and sprockets for the fuel injection pump and camshafts, and also the oil nozzle for the lower chain.
This kit corresponds to the latest technical developments necessary to prevent the chain from breaking again. It has an upgraded version of the chain guides and superior quality chains treated with a TRITAN ® coating. This coating improves friction properties to reduce wear and optimizes engine fuel consumption.
The cylinder head was prepared for reassembly with new camshaft support, camshaft, and new rocker arms (Febi 30132). Note: the tightening of the bracket bolts must not exceed 20Nm and it is important to ensure that the camshaft bearings are lubricated before installation. The cylinder head was then reassembled and fitted to the engine block, using new bolts (Febi 39805).
Then the timing of the camshafts and crankshaft was checked, this is essential for correct engine operation. The camshaft pinions have timing marks, which must be placed opposite each other parallel to the cylinder head. (Fig 3) The crankshaft is fixed by means of a pin in the flywheel, which is removed, we recommend that it be temporarily reassembled to check the locking.

First, the lower chain was installed with the new fuel injection pump sprocket, and then the chain guides attached with their respective bolts.
The hydraulic tensioner was installed ensuring all contact surfaces with the engine block were clean before assembly. The lower chain and oil pump sprocket was installed, noting the direction of assembly.
The upper chain was installed from the injection pump sprocket to the sprocket of the intake camshaft. The upper chain guide can then be assembled, applying thread lock to the threads to ensure that they will not loosen during operation.
Once all the chains had been installed, the locking pin was removed from the hydraulic tensioner to the lower chain.
With all chains in place and the flywheel locked in position, the alignment was checked off the AAC markings on the cylinder head. As everything was correct, the camshaft sprocket was tightened with the three retaining bolts. If the alignment is not correct it can be corrected by turning the exhaust camshaft with a 32 mm spanner. Then check the fuel injection pump sprocket for the correct tightness.
The assembly of the Febi 102040 timing chain kit was complete, the engine was turned over by hand for several revolutions to check that the engine was turning freely. (Fig 4) The timing chain housing was reassembled with its new seal and the new crankshaft seal.

Once the valve timing had been reassembled, all other parts were reassembled before refitting the engine back into the engine compartment.
With the engine refitted, the oil filter was replaced and the engine was filled with the correct grade of oil. Regular engine oil and filter changes are vital for the long operation of all engine components, especially the timing chain as it relies on constant lubrication.
With the engine installed and the cooling system filled with fresh coolant, the engine was started and checked for leaks and correct operation.
The vehicle was road tested to check its performance, so that it could give many more miles of driving pleasure.
https://alleuro.com/Brands/Febi-Bilstein?SearchIndex=0&Page=0&Category=Engine

Click the link below to register for the upcoming session on March 25!
https://local.google.com/place?id=998355707262431581&use=posts&lpsid=7585029668163978057

After completing this training, the participant will be able to:
• List the principals of a fluid clutch and torque converter
• Describe the 3 components that are used in a torque converter
• Explain the hydro dynamic fluid flow, torque multiplication stage and coupling stage
• Describe the lock up clutch operation and regulation
• Explain common failures and malfunctions in torque converters and lock up systems
For front & rear axle nut, hub mount and lug nut torque specifications.